Showing posts with label clothing. Show all posts

Wednesday, May 25, 2011

Leg Warmers

 With my daughter being in ice skating it is hard to dress her warmly with out her having layers layers of clothes making her look like the state puff marshmallow man. She has to wear the bear minimum so she can still move around with ease and poise. I thought what better way than leg warmers. 80's is back in style anyways right?
 As I was walking around Walmart they had a $1 rack full of clothes. I thought heck I could find something in there that I could use. I found this sweater and it sparked my mind. And so I came up with my idea.
 First cut off the sleeves right at the armpit
Then fold the end that you just cut over 2 times to make sure it doesn't end up fraying later on and sew to seal it off. Yes, my sleeves are uneven. I did not measure right on the cutting, but I was in a hurry so it had to work. And what do you know when my daughter put them on you couldn't notice, because they bunch up anyways.
There you have it folks. Leg Warmers for $1. This was a very easy project only taking about 5 minutes to make. Since this one I have made 3 more. I went back to Walmart and got all the different colors they had. I figured you couldn't pass up $1 sweaters or should I say, leg warmers.

Tuesday, November 9, 2010

Ranger Shirt

Round 2 on refurbishing old clothes.

Here is the 2nd shirt that I did for my son.
Once again I started with 2 shirts
and cut one of them to pieces.
Then pin all your pieces where you would like them. My main concern was making the shirt longer as well as the sleeves, but it never hurts to add some embellishments.
Last, sew all together.
And Voila once again, you have a "new" old shirt ready to go for another year. I put a little bit of embellishing on the back of the shirt as well.

Monday, November 8, 2010

Tie Shirt

Now that it is getting to be cooler weather I had to go through my kids closets to see what winter clothes still fit and what doesn't. The shirts that I found that were too little I couldn't pull myself to throw away. So instead I came up with some ways to combine some of the shirts to make them bigger. Here is my first shirt that I did. ..He is so happy.
First, I took 2 shirts of like colors and cut one of them to pieces
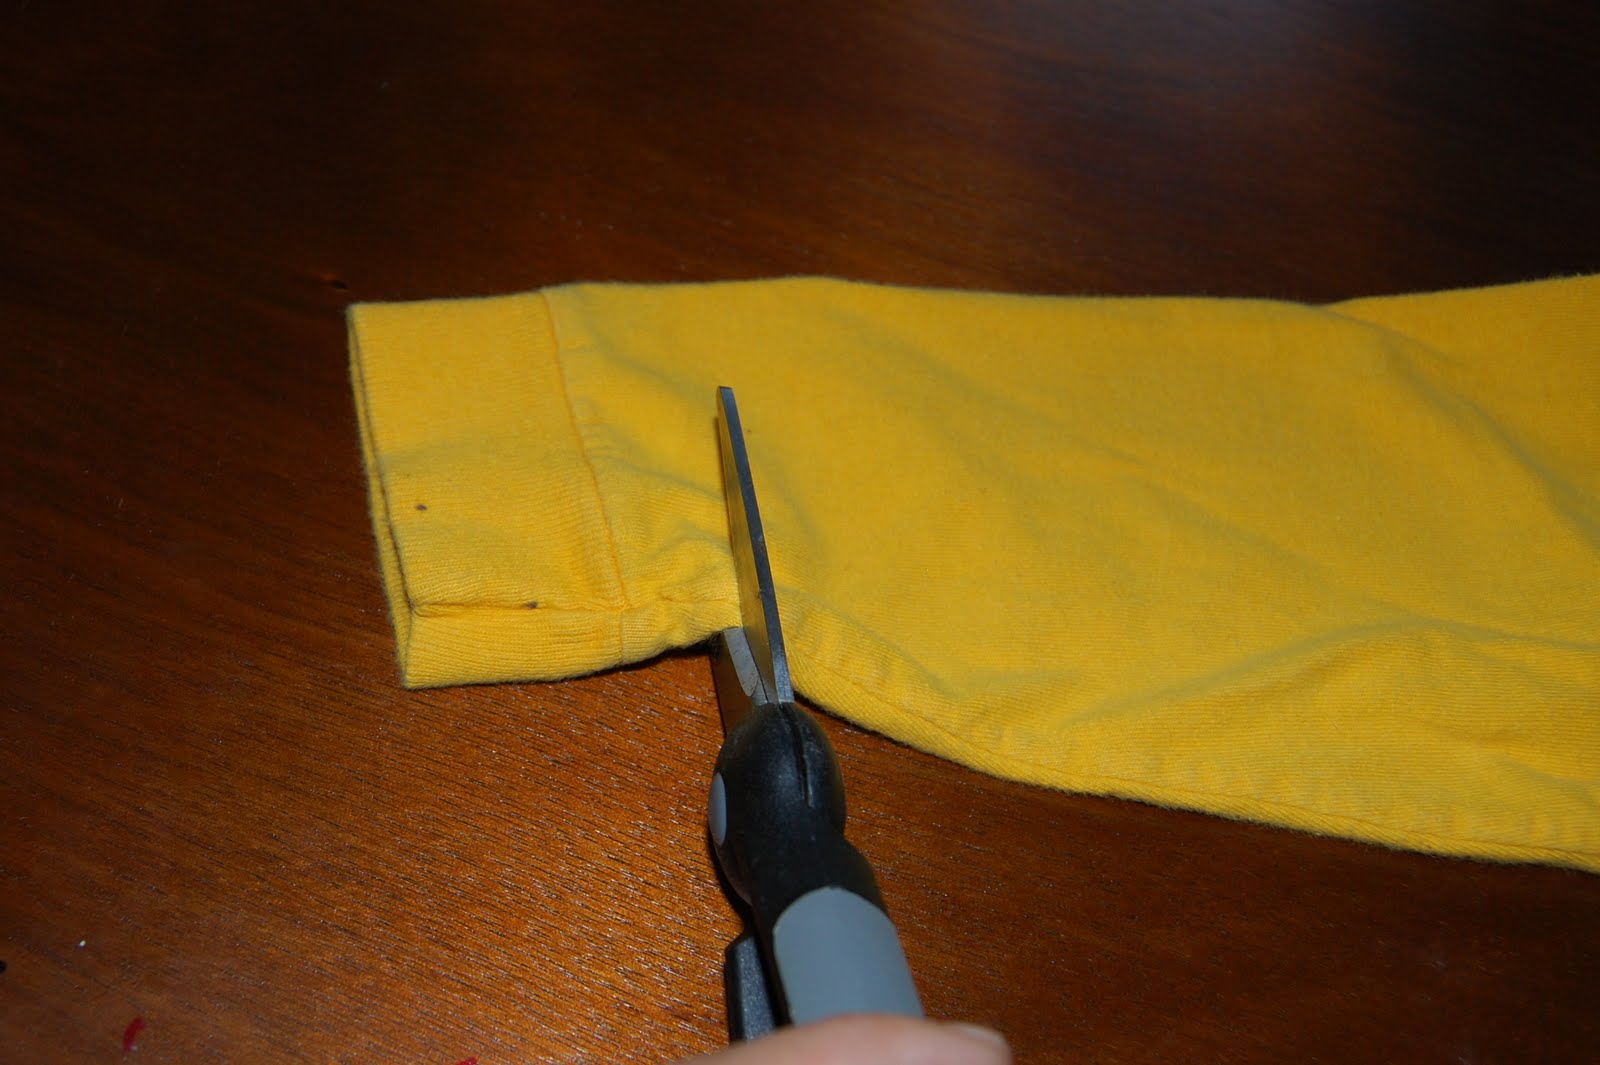
First cut the sleeve's cuffs off. Leaving an extra amount so you have enough material to work with when sewing.
Then I flipped the shirt over, because the back was solid yellow. I cut 2 long strips. The width of the strip will depend on how much your kid has grown and how much longer you need your shirt.
Now you will have 2 long strips (for the extension of the bottom of your shirt) and 2 cuffs (for arm extensions)
Fold your long strips in half and pin in place. Folding them in half makes it sturdier and seals it off.
sew them together
Turn your shirt inside out and pin your long strips at the bottom hem of your other shirt and sew. You do this same step for your sleeve extensions as well. I didn't make my ends meet, because I wanted to have the split ends like an undershirt would have
I wanted to add a little flare and had some more yellow material left over so I drew a tie, cut it out, pinned in place on top of my shirt, and sewed with a contrasting color thread to give more character.
Voila! Here you have a newly cool shirt. Look how long those arms are now. No high water sleeves anymore. I love the tie and can't wait to wash it a few times so the extra rim around the edge of it will get ruffly. I like the ragged look. I should have put the tie up maybe a little bit higher up on the neck part, but oh well. It still turned out pretty good I think. Can't wait to do my other shirts.

Thursday, July 22, 2010

Rosetta Tanks

The Before:The After:
For this one I used the same lace curtain that I used on the first shirt to add trim at the bottom and cut lace leaves out for the Rosetta flowers at the top. For the Rosetta flowers I just cut strips of a yellow & white striped shirt and twirled around and around until you are satisfied and sew in place.

I tell you what, if I keep this up my girl is going to be all set for school. The best part is, it hasn't cost me anymore money. Who said back to school shopping was expensive?

Frills & Thrills

Here is another shirt that I did. I took one of my daughter's old shirts that was too little and cut off the butterfly and sewed it to this shirt that had a stain. The butterfly is a nice little cover up don't you think. I also cut strips of that same old shirt and sewed it to the neck line for some ruffles. Sorry, I didn't take pictures of all the steps. I was doing these at midnight and was getting a little tired.

Its another winner for my daughter. I'm glad I can my girl smile. When she smiles...I smile...and the world goes 'round.

Sorry, I didn't take pictures of all the steps. I was making these at midnight and I was getting tired. I took pictures of the first shirt I did, but then I was ready to hurry up and get done so I could go to bed. All you really want to see is the end product anyway...right? I got what was important

New Threads

Yay! My first, very own post. I'm so EXCITED! For months I have been posting other people's ideas, but now I have finally made something of my own. I'm so proud.
Since school is about to start I have been going through my kids clothes. You know the usual, does this still fit, too little, have stains, no good. Anyways, I came across some plain shirts that I thought I would dress up with the clothes I was going to get rid of. Here are the results. I started with us with this shirt.And turned it into this using an old lace curtain. Do you like?First you pick out a pattern on the the lace that you like and place it on your shirt wear you want it. I wanted a 4" trim around the bottom. So I laid it out and pinned it 4" from the bottomThen cut all the excess off. I left about 1/2"-1" extra at the bottom so you could have enough to wrap around the backside and sew.
Here is a picture of the lace being wrapped under. Once you have everything pinned in place you are ready to sew

Sew all around and VOILA!
I also cut a single flower out and sewed it to the top corner of the shirt for an extra little umph. My daughter loves it, and thats all that matters.